Roco dining car conversion

Anton Dyak wrote on the weekend to let me know about his progress with re-wheeling ready-to-run stock. He writes:

Overall I have this idea to produce ready-to-run models out of the box equipped with P87 compatible wheels. Since making model trains is an expensive investment I start with replacement parts such as compatible-length wise axles with slightly wider center to maintain “in-gauge” position for wheels compatible with mostly European model train brands. As typically European trains use larger wheels I need to make sure wheels get mounted perpendicular to an axle as any angle away from 90 degrees will present a big wobble problem. These are common European rolling stock sizes. 900mm or 35.5″ are for autoracks, while most trains use 950mm or 37.4″ and some high ride comfort cars use 1000mm or 39.4″. Attached are images of conversion of my German dining car. For now only one truck test-converted and shows significant wobbling as wheels I used (NorthWest ShortLine come either convex or concave). I am thinking of jigs to flatten them into true-run wobble free wheels.
Original Roco passenger car uses 950mm or 37.4″ wheels mounted on 24.75mm or 0.974″ axle. This axle tends to be somewhat wobbly.My (Masterist Scale Railroad Models) trial axle is 0.975″ or 24.765mm. Works perfectly, no wobble. Wheels are Northwest Shortline 38″, they match size-wise but like I mentioned are concave and thus instead of 0.064″ caliper reading shows 0.073″…finally I found out what causes problem that drove me nuts for a long time: not faulty tools or axles, wheels aren’t perfectly flat. Now designing jigs to flatten concave wheels into flat ones using arbor press.

So Long Ed

Pembroke:87

Last week, I heard that Ed McCamey passed away, and I confess that it rather took the wind out of my sails.

Ed was one of the first Proto:87 contacts I made, way back in 1994.  He sat behind me at Jim Harper’s clinic on detailing track; when the discussion turned from 1:48 scale to 1:87, he distinguished himself with his knowledge and his outrageous moustache.  By the end of the clinic, I had a handful of names of folks who were interested in pushing the frontier to Proto:87, but not Ed’s.  I sought that moustache out, and we met in the bar where I convinced him to join me.

That was his first mistake.  Over the ensuing two decades, Ed proved to be a leading light of the Proto:87 movement.  It was he who designed, financed and distributed the gauge that I use to this day.  When the NMRA…

View original post 136 more words

The new spur

This weekend my son and I installed a turnout on his layout. The turnout serves a spur to the winery, which we built last fall when we returned from Osoyoos (where there are lots of wineries).

It’s hard to believe how much fun we’ve had with the Bachmann Thomas set. We bought it when his sister was born and he was a very helpful and understanding three year old.

To tell the truth, I didn’t have much hope two years ago that the trains would last as they have, but they’ve proven surprisingly robust. The only failures the trains themselves have had have been the couplers, and Central Hobbies had replacements for those. The track, on the other hand, started to fail after being put together and taken apart about a dozen times. Bachmann E-Z track relies on the rail joiners to conduct the electricity, and those get looser and looser with each set-up; I spent a good fifteen minutes of every set-up going around with pliers to tighten them all. As the rail joiners were loosening, the connector for the power feeders was also beginning to fail, and finally that put a stop to the whole operation.

That’s when I decided to build a board and fix the track down permanently. The board is a big piece of blue styrofoam (not the beady stuff, or we’d have beads all over the house by now). We had to use two pieces because I couldn’t find a single wide piece, and couldn’t have squeezed it into the car if I had. The styrofoam is covered with bristol board, glued down with water-based contact cement, which holds the two pieces together; we didn’t put as much on the bottom, and the layout is consequently slightly bowed, but not enough to affect bullet train operations.

When not in use, the layout hides behind the toy wardrobe in out living room. It is light enough that my son can take it out and set it up himself. The trains and buildings (which tend to be mockups of my scratch-building efforts) get stored in a basket on a shelf, along with the original power pack. The power connects to a humongous wall transformer and hooks to the track using a phone plug. Set up takes about thirty seconds.

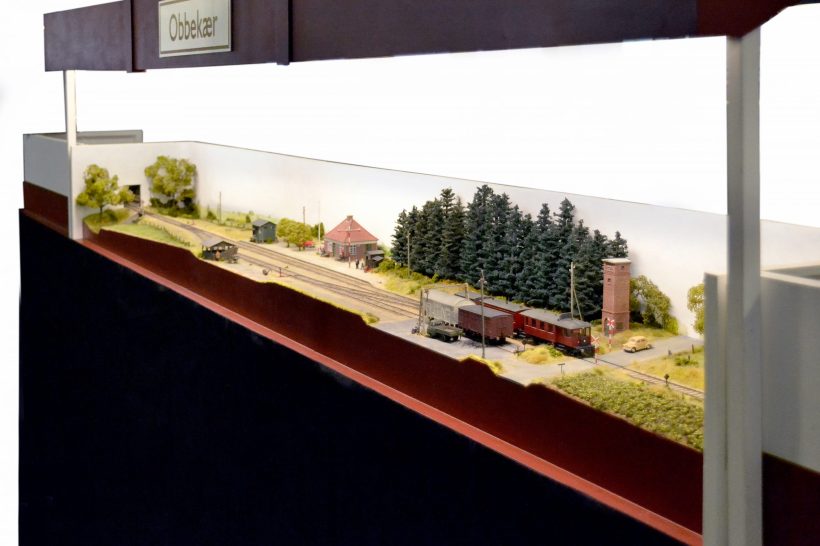
Thomas, Annie and Clarabel were joined by Percy, some troublesome trucks and a brake van. For two years, a circle of track was surprisingly entertaining. In the initial construction, I pondered a siding, spurs, in fact, I pondered building the whole first Gorre and Daphetid, and it would have been fun, but it would have been too much. A circle was perfect.

You might scoff at Thomas and Percy, but they have some things going for them. First, we have read all the books many times, and so, they reinforce one another – we’ll read the books then play with the trains or vice versa. Second, and much more importantly, they have only two axles (except Thomas who has three), and no trucks (bogies). It turns out that trains with trucks are remarkably difficult to put on the rails for small hands, but my son was able to rerail the English-style wagons after a few tries when he was only three.

And so it went for almost two years: Thomas would get put on the track and would run around and around with Annie and Clarabel, to be replaced by Percy, then Annie and Clarabel would get taken off and replaced with troublesome trucks and the brake van, then usually the whole cavalcade would be put on together. They run at a variety of speeds, not always full throttle as you might expect.

I bought the turnout over a year ago, expecting to install it on the next rainy day, but the circle of track just wasn’t losing its luster, until this weekend when it was found, and it needed to get installed.

Everything needs to be learned, and seeing that it takes some mental gymnastics for a five year old to predict which way the train is going to go through the switch, I’m even happier that we stuck with a plain circle for two years.

Now, however, we have a source of traffic. It’s going to be hard to avoid building a staging yard, introducing car cards, a timetable, train orders and a dispatcher. Oh well, we managed to keep from converting Thomas and friends to P4, I’m sure we can keep the Ops SIG at bay for a couple of years too.

Strong bones

The interior came from Shapeways some months ago, but I seem to be making glacial progress this year. I suppose that means that I’m melting slowly, and occasionally a big lump will drop off, which is pretty close to the way things are going.

Anyway, as you can see, the interior came with the end platforms. These are actually a little more delicate than I’d like, and I’ve had to repair at least one stringer on each end due to rough handling after epoxying them to the frame.

lamp jack

Here is one of five lamp jacks for the passenger car. It’s simply constructed from a pin and a length of tube. I held them apart with a razor blade as I soldered them. It’s about 18 mm (3/4″) long, and most of it will get cut off shortly before installation.

You can probably buy something like this, and one of the questions that I get asked when demoing is how do I choose to make something rather than buy it. The answer I give is one that I remember reading thirty years ago when I started scratchbuilding. It is this: if I can make something that’s as good or better than the one I can buy, I’ll make it.

Following this rule has had a couple of benefits over the years. First, it has meant that I’ve spent a whole lot less on my hobby than I might have. Here, for example, I’d expect to spend a couple of dollars for a set of jacks that I made in less than half an hour for pennies. When I started out, this was my primary motivation for scratchbuilding, because, well I had no money. None. No really, none.

The second – unexpected – benefit of following this rule has been that my skills have improved with every part I’ve attempted. Often I set out to make a part, not knowing if I can or not, but knowing that the best I can find is not all that good. So, I attempt it once or twice, and sure enough, after a couple of tries I do get something that looks more like what I’m after than the best commercial offering. In the meantime, I’ve learned how to fabricate something that I didn’t know how to make or even know if I could make it.

Finally, and this was the motivation this evening, scratchbuilding actually saves me time. Sure, I might have been able to buy lamp jacks, but I would have spent as much time searching through Walthers, Cal Scale, Bowser, Detail Associates and every other manufacturer’s website, scrutinizing the terrible photography. Then there would have been the ordering at Central Hobbies or direct, a trip to the hobby store, and before you know it, these parts have cost me much more than half an hour.

And it’s fun to make stuff too.

Getting back to work on the passenger car

inally, after months of computer work, and Christmas, and finishing off the models for the train show, I am back to the passenger car. Amazingly, it’s been almost six months since I did anything physical on this model – most of the recent work has been on the computer, composing the interior, the clerestory lights, and improving the freight trucks.

Yesterday I ordered the interior and clerestory lights, and I’ve been working on the windows, which are going to get laser cut. I would have liked to have made them on the RP machine, but they don’t satisfy the minimum wall thickness at Shapeways. So, laser cut it is.

I cast about for a while looking for someone who will do a .010″ styrene through a service like Shapeways, but came up dry. So, I’m going to ask my friend, Brian, who happens to own a laser cutter, to do them for me.

First, I thought I’d better do a little proof of concept. Actually, I did two – one in brass to see if etching was an option and another in styrene. The styrene one works fine, and is shown here.

Notice I’ve sanded the jaggies off the roof, and lightly sanded the sides where they had faint horizontal ridges.

Eholt BC

I built these three buildings for my friend Scott’s layout, which is based on the CPR Boundary Sub in southern BC. Eholt was the junction with the Phoenix branch, and we’re modeling it still active in 1962 – the branch is rising in the background in this view.

Scott took this great photo, which mirrors a prototype photo I worked from.

The loneliness of the location seems to me to come through beautifully in this shot. There is a space here that is so often missing in model railroads, and that space, like silence in music, is every bit as important as the models themselves.

All three models were scratchbuilt in styrene with predominantly Grandt Line and Tichy windows. I built the bulk of the station at a clinic at Trains 2008. The tool shed and section house were constructed at Houten this March. The section house is covered in Insulbrick, a rolled tar paper product similar to shingles, but printed to look like brick.

Greed versus SketchUp!

Ugh! I’ve spent most of the evening battling myself and Google SketchUp! The two of us are formidable foes.

The challenge is this: Shapeways wants a super-clean mesh before they’ll attempt to print. That means normals all have to point the same way, and no hidden faces or lines.

Sadly, SketchUp likes nothing better than creating hidden faces and lines — it works best like this. When you see the slick demos online, rest assured that the resulting model is unprintable.

Doubly sadly, when I started the model, I was seduced by the powerful gestural language that the tool provides, and quickly did things like extruding rounded shapes for the window frames (who knows how they’ll resolve on the printer!), and sloping the window sill so the rain doesn’t run into the car.

So now, we need to make those two surfaces meet cleanly. Should be a simple matter of using the “Intersect” tool in SketchUp, right? Well no, because SketchUp doesn’t like working at the small scale I’m working in at all. I should have realized this was going to be a problem when SketchUp wouldn’t even let me create an arc .015″ in diameter, and I had to draw segments myself.

I probably wasted an hour trying to get it to fill in the odd shape at the foot of the window frames. Finally I gave up, and here is my solution: I drew a rectangle at the foot of the window frame, then bent the bottom of the frame so it fills the rectangle. Voila, the shape on the window sill is easy to fill because it’s all big squares, and the inside will have no hanging surfaces. I haven’t tried to upload yet, but I have high hopes that this will work for me.